With Windows 11‘s debut last year, a lot of new features were introduced to Microsoft’s flagship operating system. With those, the Start Menu was completely redesigned. For further alterations, you can now create customized folders in the Start Menu to group your favorite pinned apps.
The ability to group applications under a single folder makes it more organized and convenient to use. This way, you can add more and more apps to the Start menu with less clutter. Not only that, but you can also name the folders anything you want to so it is easier for you to navigate between them, and you can go exactly to the application you need to launch, instead of searching for it.
Today, we are going to show you how to create folders in the Start menu of a Windows 11 PC.
Note: This feature is yet to be released for the stable channel with Windows 11 22H2. However, if you want to try it right away, you can subscribe to either of the channels for Insiders since all of the channels (Beta, Release Preview, and Dev) have Build 22579 or higher.
Table of Contents
How to Create Folders in the Start Menu
Follow the given guide below to create custom folders in the Start menu of a Windows 11 PC:
Note: Before you start creating folders, you must ensure that the icons for the applications are present within the Start menu under the Pinned section. Meaning they need to be pinned to the Start menu. You cannot make folders of applications whose icons are present on the desktop or use File Explorer.
-
To begin with, open the Start menu.
-
Click and hold on the application icon using your primary mouse button and then drag it on top of another icon – the dragged icon and the icon you are dragging to must be the apps you want to put together inside a folder.

Drag the app -
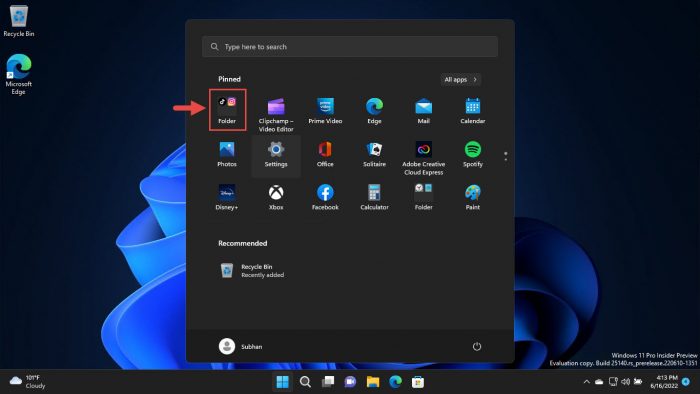
When over the icon of the other app, let go of the mouse button. This will drop one app over the other, automatically creating a folder in the Start menu.

Folder created
The default name for a folder will be “Folder.” However, you can change this to define more precisely what the folder holds.
How to Rename Start Menu Folder
When you have created a folder in the Start menu, you can rename it using the following steps:
-
Open the Start menu and then click on the folder you want to rename.

Open folder to rename -
In the expanded view of the folder, click the name on the top. If you are editing the name of the folder, you will see “Edit Name.” Click there.

Edit folder’s name -
Now enter a name of your choice and it will save automatically.

Folder renamed
You can later change the names of the folders as required using the same method as above.
How to Delete/Remove Folder from Start Menu
If you are planning to remove a folder from the Start menu that you had previously created, you may have noticed that there is no “Delete” option available. You can still remove a folder by removing the content within it. Here is how:
-
Open the Start menu folder that you want to delete and drag out all the application icons back onto the Start menu.

Remove icons from folder -
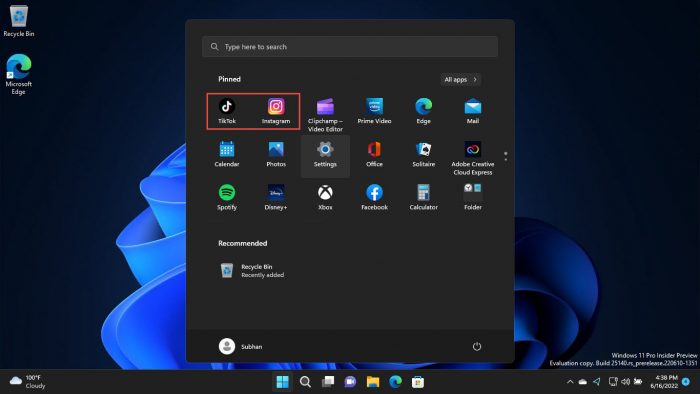
Once all the icons are removed and put back under “Pinned” apps in the Start menu, the folder will disappear on its own.

The folder has been deleted
Final Thoughts
Start menu folders are a new feature in the Windows 11 operating system. Previously in Windows 10, there only used to be tiles (icons) of the pinned applications, as was the case with the stable Windows 11 21H2 released last year.
However, with Windows 11 22H2, things are about to change for the better. The folders in the Start menu will help you access your favorite apps quickly and in an organized fashion.
