When you install Windows 10, some bloatware and unnecessary apps are also installed with it. They can affect system performance while slowing down Windows startup and take up valuable system resources. We can disable or remove these unnecessary apps to speed up Windows 10.
Windows 10 Setup Script is a PowerShell script that can disable a lot of unnecessary features without affecting the functionality of the Operating System.
All users want their computer to run as smoothly as possible, with the best speed, performance, and features. The Windows 10 Setup Script is especially useful for users who have just installed Windows 10.
Right now, this script is only made for the following versions of Windows 10:
- Version 1903
- Version 1909
- Version 2004
- Version 1809 LTSC
- Version 21H1
The customized script focuses on the following critical aspects of Windows, among others:
- Setting up user privacy
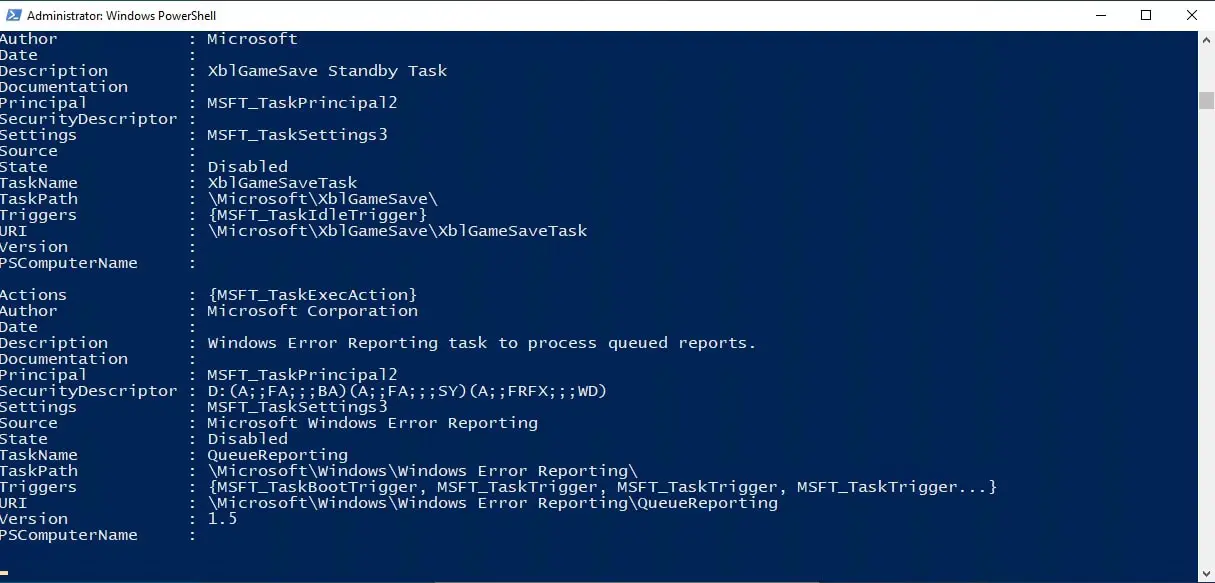
- Turning off scheduled tasks
- Remove OneDrive without affecting Windows performance
- Customize and set up User Interface
- Modify Personalization settings
- Switch off Windows features
- Schedule a regular Cleanup task
- Add exclusion files and folders to Windows Defender Antivirus scanning
- Remove all unnecessary pinned tiles from the Start Menu and pin only wanted tiles
Let’s move on to how to use the script.
Optimizing the OS using Windows 10 Setup Script
The open-source script is available to download on this page. Click on the Code drop-down menu and then click on Zip to download the zip file.

Once downloaded, extract the file and navigate to the extracted folder. This folder contains the scripts to the versions stated above with their respective names.
Right-click on the file with the name of the version you have, and select Open with in the context menu. Select any editing tools of your choice.

The script starts with a synopsis and a description of itself. It is in your interest to read through those before moving ahead with the script.
You may then continue down the script and carefully assess what features you wish to enable, and what to disable. It is not necessary for a System Administrator to do so as each step starts with a comment that explains the function of the following few commands. Note that this is a time-consuming and delicate process.
- By default, all features that are mentioned are enabled. You can simply comment-out the features you do not wish to enable, or use, by placing a Hash (#) in front of them. You can also comment-out the entire block of the script by placing “<#” at the beginning and “#>” at the end, as in the sample below:

- Once done, save the file and close the editor.
- PowerShell blocks all scripts running from third-parties. Therefore, we must set its execution policy to bypass. This will not give out any prompts and the script will run smoothly.
- To do this, run PowerShell with Administrative Privileges, and run the following command:
Set-ExecutionPolicy -ExecutionPolicy Bypass -Scope Process -Force - Now, execute the PowerShell script that you have just modified by right-clicking it and selecting Run with PowerShell. The script may display several choices and prompt you for input, depending upon your modified version of the script.

- Go through with the PowerShell, enter choices where needed, and all the configurations will be performed accordingly.
Significant features of the script to look at
As the script addresses about 150 features of Windows 10, here are a few we might think are important enough to get your attention.
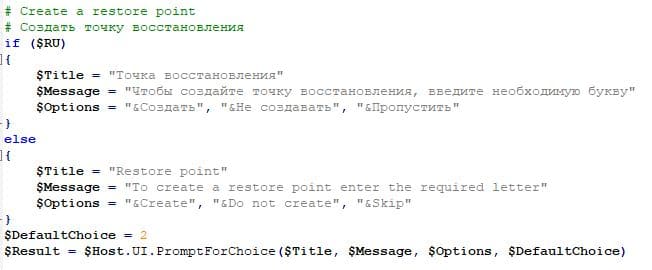
- You can choose to create a restore point before moving ahead with the modification of Windows. This step is recommended as any accidental changes can be later reverted by restoring the system to this point. If you wish to bypass this part, simply comment-out the shown commands in the script.

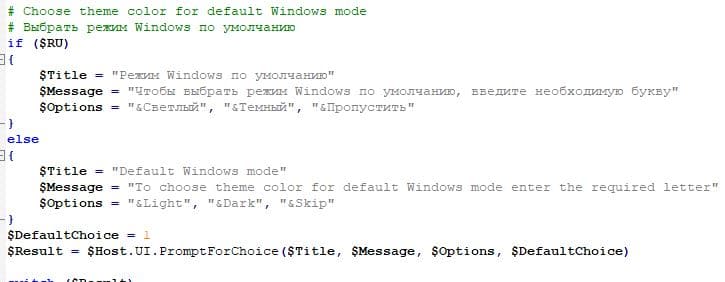
- You can also set the theme of the OS using this script. If you wish to leave it with default settings, just comment out the area below.

- If you do not use OneDrive, it can also be uninstalled using the safe method, without disrupting any other files on the computer. The portion of the script shown below controls that area and can be used to uninstall OneDrive.

- If you are too conscious about disclosing your personal information, the following single-line command can turn off your device location forcefully.

- The Start Menu is also fully customize-able through various portions of the scripts, such as unpinning all existing tiles, pinning new tiles, changing its theme, etc.
You are now done optimizing your Windows 10 from the very beginning.
What modifications do you make to your Windows 10 right after installation?
You can also speed up Windows 10 by disabling background apps.
