PowerShell 7.1 has been released on 11th November, 2020. It is available for download and installation on all platforms, including Windows 10, Windows 8.1, Windows 7, Linux and MacOS.
PowerShell 7.1 is an update to the major version PowerShell 7.
You can check out the difference between PowerShell and PowerShell Core.
PowerShell is a command-line automation tool just like DOS Command Prompt, only better. You can run commands as well as complete automation scripts called cmdlets in PowerShell.
Table of Contents
Download PowerShell 7.1
For Windows 10, Windows 8.1 and Windows 7
PowerShell-7.1.0-win-x64.msi [95 MB]
PowerShell-7.1.0-win-x86.msi [85.8 MB]
For MacOS
For Linux
CentOS
powershell-7.1.0-1.centos.8.x86_64.rpm
Debian
powershell_7.1.0-1.debian.11_amd64.deb
powershell_7.1.0-1.debian.10_amd64.deb
Ubuntu
powershell_7.1.0-1.ubuntu.20.04_amd64.deb
powershell_7.1.0-1.ubuntu.18.04_amd64.deb
For more download options, please checkout this download page.
PowerShell 7.1 features
This is not a major update but it still comes with a good number of improvements and fixes.
Changes made in PowerShell 7.1 include the following:
- The SecretManagement and SecretStore modules for universally accessing and managing secrets across platforms
- PowerShellGet 3.0, a complete rewrite of PowerShell’s module package manager, includes a brand new set of parameter sets that conform to modern package manager semantics
- The latest PSReadline beta with support for Predictive IntelliSense
- Support for both PowerShell Notebooks in Visual Studio Code and PowerShell Notebooks in .NET Interactive
- Experimental work on proxying native commands like
kubectl
How to install PowerShell 7.1 in Windows 10
How to install PowerShell 7.1 in Windows 10, Windows 8.1 and Windows 7
Total time: 5 minutes
-
Step 1

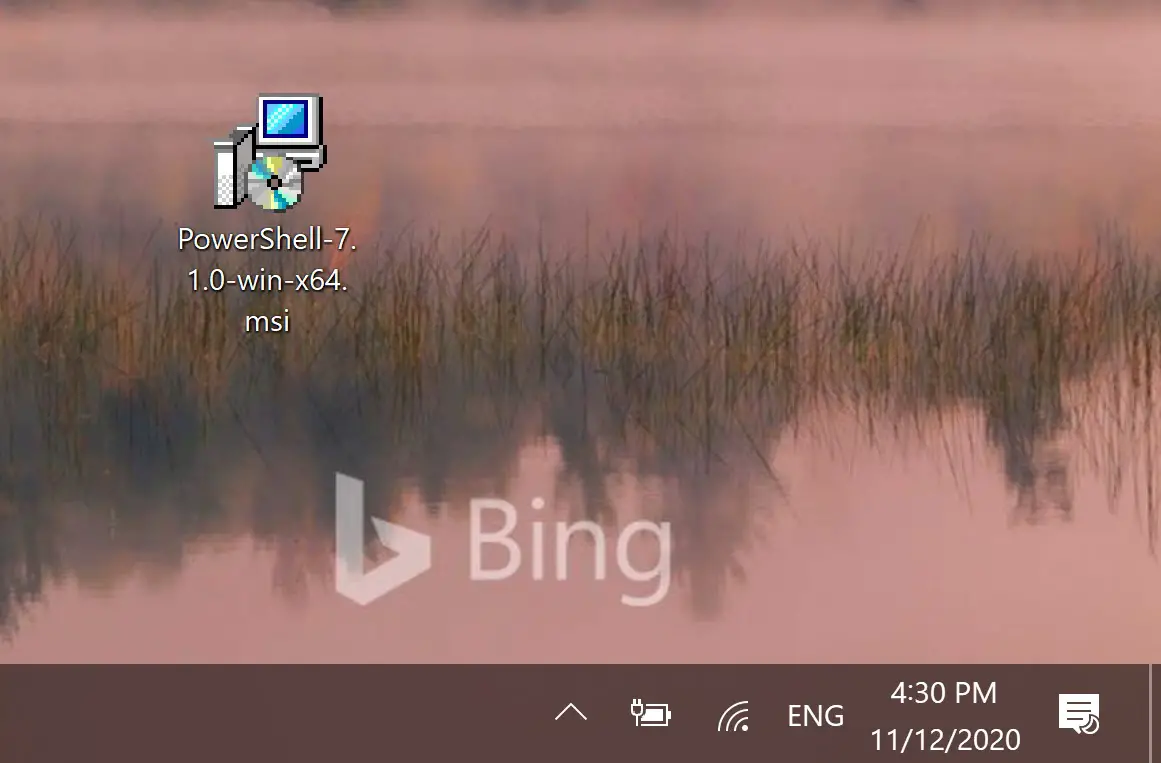
Run the MSI file downloaded from above
-
Step 2

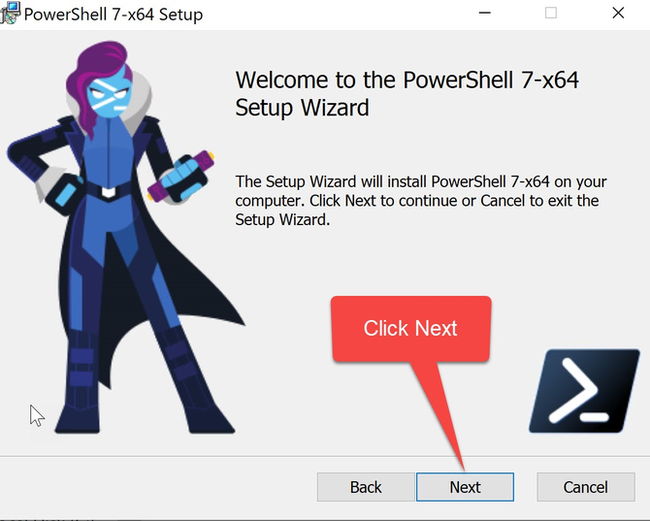
Click Next to proceed with the installation
-
Step 3

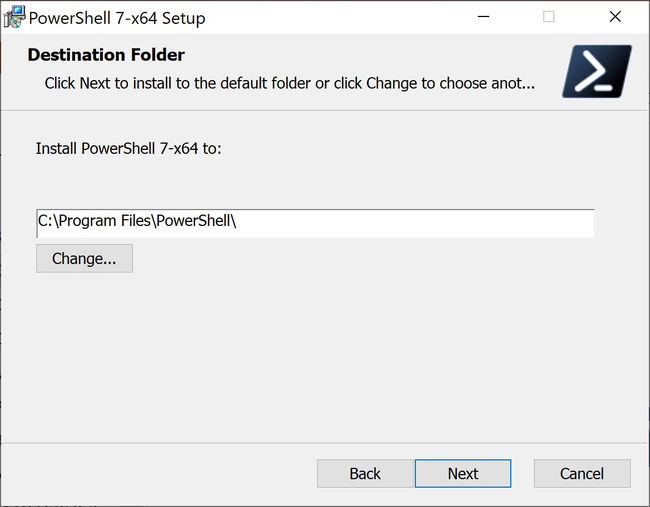
Select the destination folder for installation and click Next.
-
Step 4

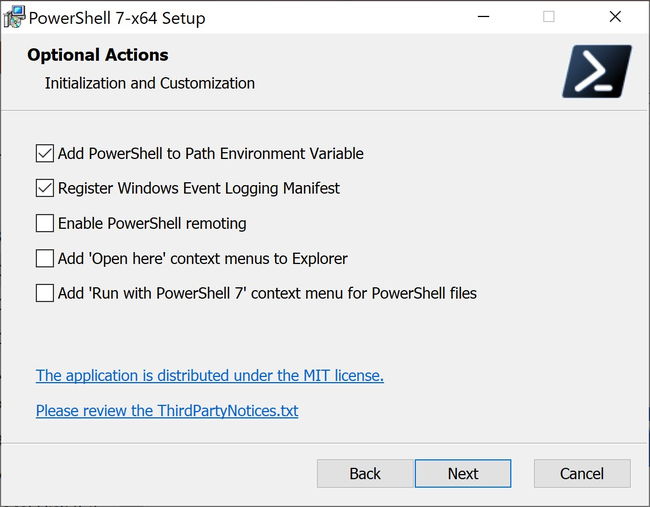
Select optional features. You can add PowerShell to environment variables, enable PowerShell remoting, add PowerShell to the context menu, etc.
-
Step 5

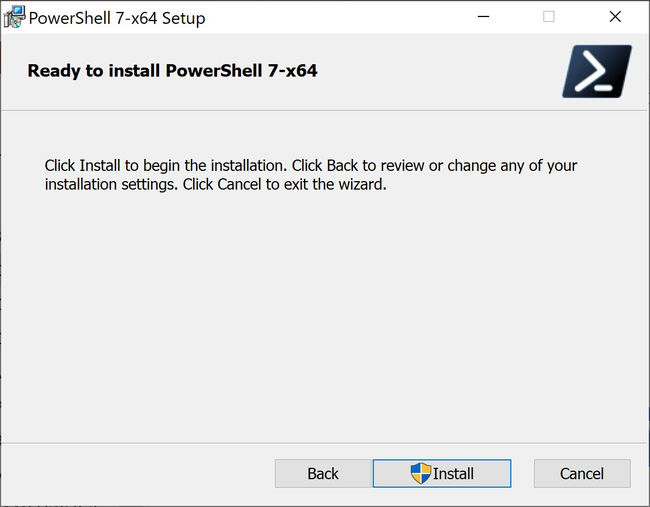
Click on the Install button to start PowerShell 7.1 installation.
-
Step 6

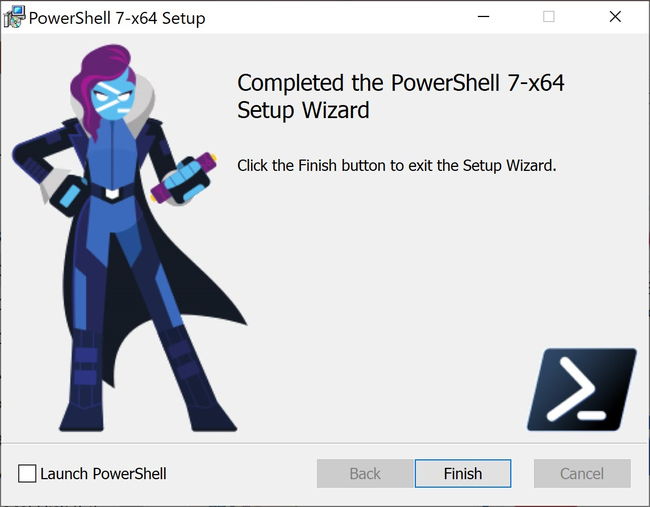
Click on Finish to complete the installation.
-
Final Step

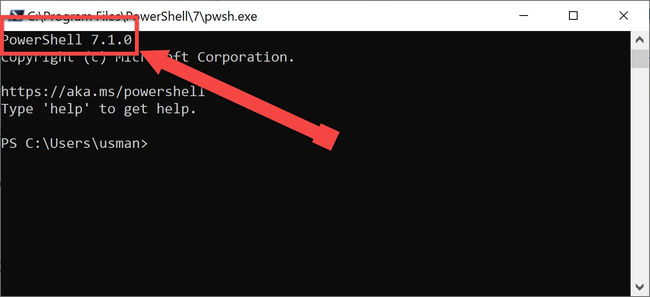
Last but not least, confirm that PowerShell 7.1 is installed. Go to Run –> pwsh. Check the version number shown on the command line interface.
Supply:
- PowerShell 7.1 Setup
Tools:
- Windows
You can also install PowerShell 7.1 using command-line. Here’s the command:
iex "& { $(irm https://aka.ms/install-powershell.ps1) } -UseMSI -Quiet"
This will automatically install PowerShell 7.1 with default options.
There is another option to install PowerShell over the network which is especially useful for sysadmins.


