Windows Update provides drivers for most modern devices. Microsoft’s provided drivers are convenient for users since no action is required to install or maintain them.
Device manufacturers still provide the most reliable drivers for their devices. Manufacturer-supplied drivers are better suited to device performance and functionality.
If your computer has Intel components, you should use Intel’s drivers, not those provided by Microsoft.
Intel provides a program called Driver and Support Assistant (formerly known as Driver Update Utility). With this program, Intel components on your computer are automatically updated with the latest driver software from Intel.
This article explains how to download, install, and use Driver and Support Assistant to maintain the drivers on your system.
Table of Contents
Download Intel Driver and Support Assistant
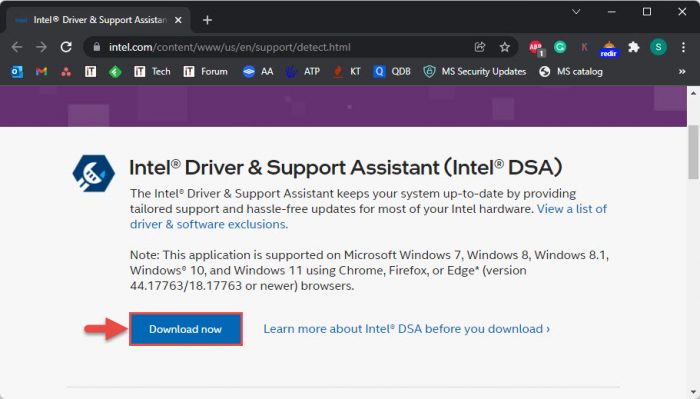
You can download the setup for Intel Driver and Support Assistant by going to their website and then clicking the Download button.
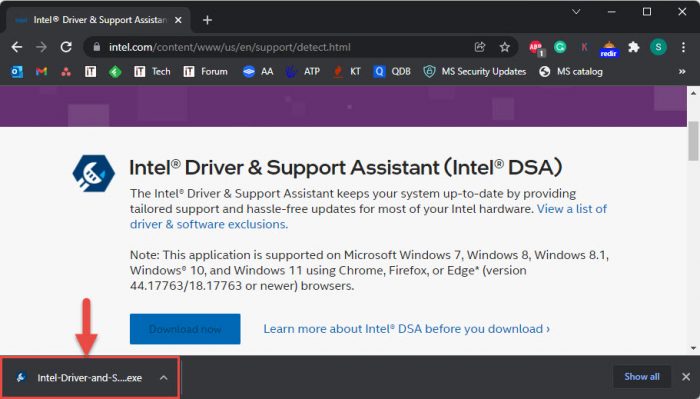
The .exe file will now begin downloading.
Install Intel Driver and Support Assistant
Once downloaded, run the .exe file to install Intel Driver and Support Assistant.
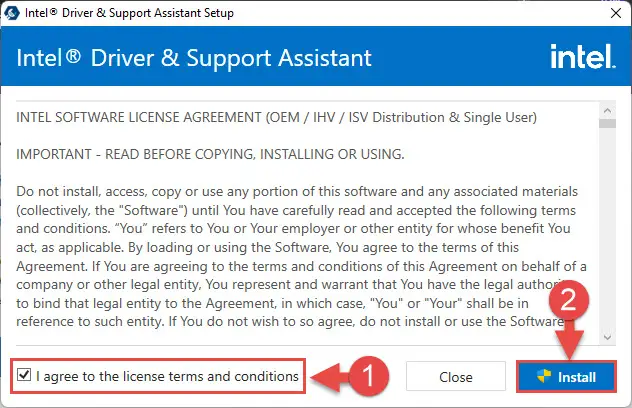
The installation wizard will now launch. On the first screen, check the box to agree to the license terms and conditions, then click Install.
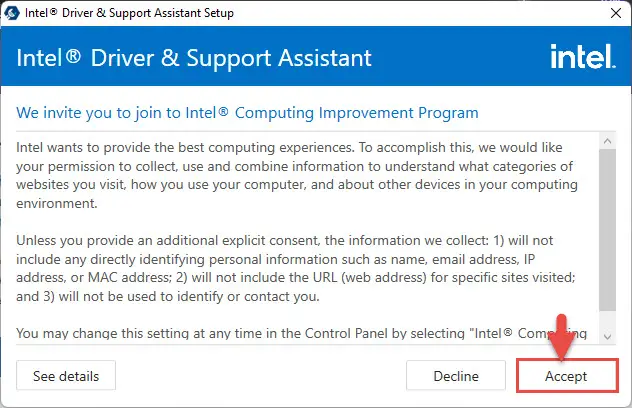
On the next page, click either Accept or Decline depending on whether you wish to join Intel’s Computing Improvement Program.
Intel Driver and Support Assistant will now begin installing. The process should not take more than 5 minutes. Once the installation is complete, click the Restart button to reboot your PC.

After the computer restarts, Intel Driver and Support Assistant will be installed.
Update Intel Drivers using Intel Driver and Support Assistant
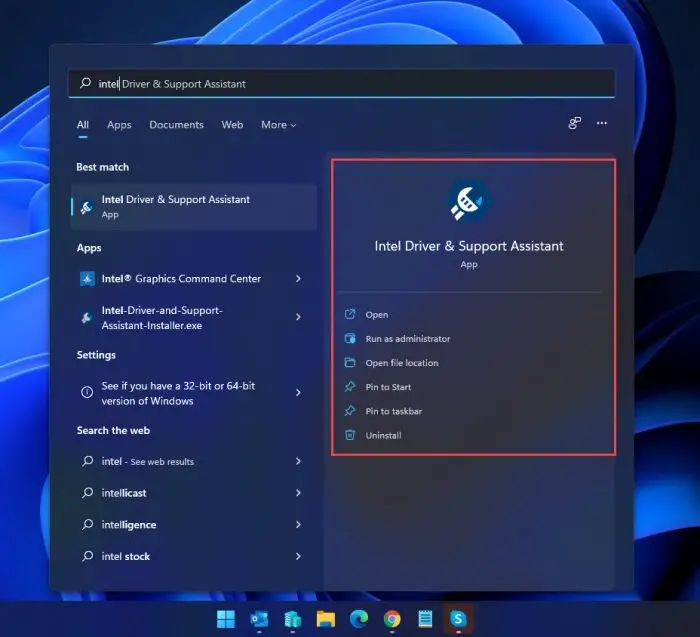
You may now continue to run the utility and check for any pending driver updates that your computer can install. Run the application by searching for it via the Start Menu. Note that an active internet connection is required.
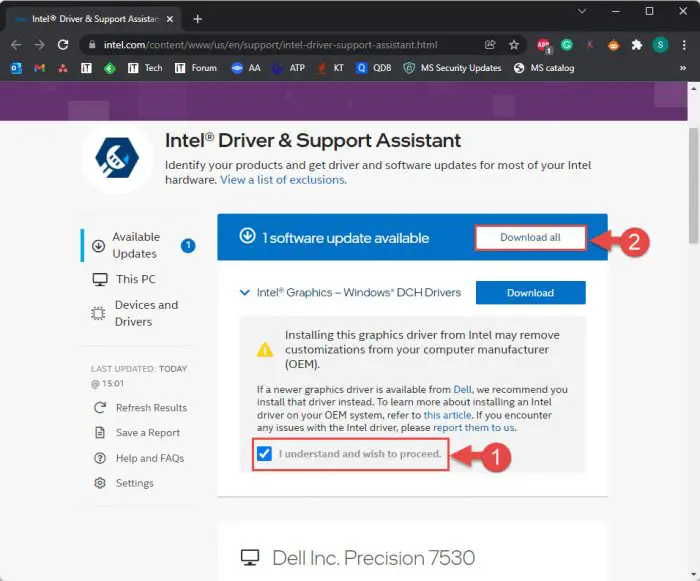
The utility now opens in your default web browser. On the page, you should see any available driver updates, along with other information about your PC, such as BIOS, processor details, motherboard information, etc.
Please check the appropriate boxes confirming your consent to proceed with the update and then click Download all to download all available updates.
Once downloaded, click the Install all button to commence with the installation.

Drivers will then begin installing one after the other. This may take a moment depending on the number of drivers, their sizes, and your system’s performance.
Once installed, please close the Driver and Support Assistant web page.
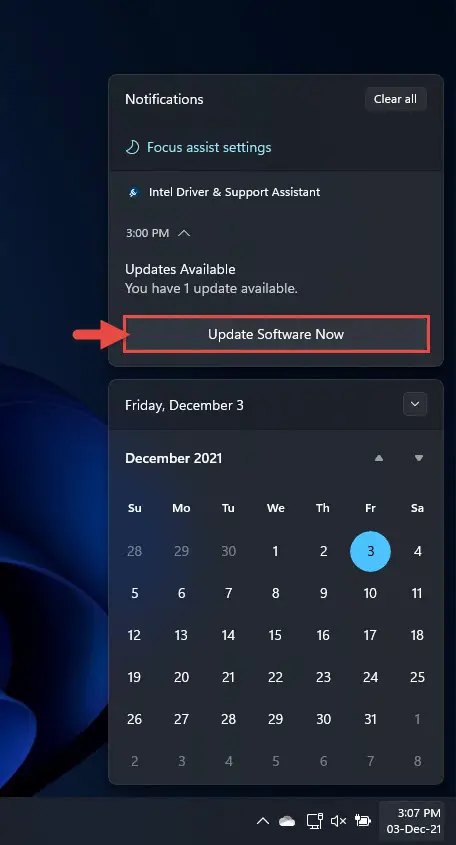
You can occasionally check for updates manually. Otherwise, the utility will intimate you of an available update through a desktop notification, as in the image below, where you can click Update Software Now:
You may also experience a different installation wizard for different drivers, depending on what driver it is updating. For example, in the case of a DCH graphics driver, the Intel Graphics Driver Installer was launched separately.
How to Update Graphics Driver using Intel Driver and Support Assistant
The Driver and Support Assistant launches a dedicated installation wizard for a graphics driver. Follow the steps below to install it:
- Start by performing the steps discussed above to check for available driver updates before you click Install now.
- At this point, a dedicated installation wizard will be launched on your PC. Bring it up by clicking on its icon in the Taskbar and then clicking Begin installation.

- On the next page, scroll to the bottom and click I agree.

- Now click Start to begin the installation process.

- The driver will now begin updating. Your screen may flicker a few times during the upgradation process. When it is completed, click on Reboot now to complete the installation.

Closing Words
Some users may need to take an additional step to grant Intel Driver and Support Assistant permission to download ActiveX or Java Plug-In for the utility to analyze your device. This must be done at the time of installation of the utility, but most modern computers do not have to perform this step.
We suggest you start using the Driver and Support Assistant to keep your drivers up to date as often as possible. It may be possible that not all drivers perform as they should in their early days, but with the current online threats, it is better to patch up security vulnerabilities before they can be exploited.


