Microsoft gives an option to download and install Office language packs for free. By default, Microsoft Office is installed with one language. You can install multiple languages in any Microsoft Office version including Office 2013, Office 2016, Office 2019 and Office 365.
This article covers both the display language and editing (writing) language configurations.
Table of Contents
Difference between Display language and Editing (Writing) Language in Office
The display and editing languages are two different things that are often confused with one another. The display language is what you will see in the menus and dialog boxes within the applications.
Basically, the display language changes the interface language of Office app like Microsoft Word or Excel.
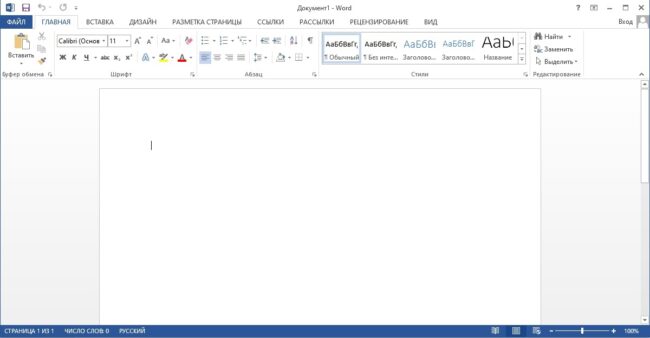
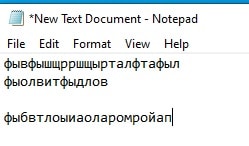
Editing language is the language a user will be able to write and edit within the applications, such as in the image below:

Check Microsoft Office version
To download and install the right “Language Accessory Pack,” you must first know the version of Microsoft Office that you are using. Here is how you can get the information quickly.
- Open any Microsoft Office product of your choice, such as Word, Excel, Project, etc.
- Now navigate to File from the Title bar and then click Account.
- In the account window, click on About Word.
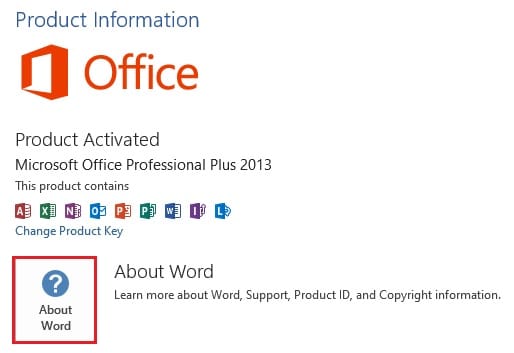
- In the About Microsoft Word window, you can see the version and architecture at the top.
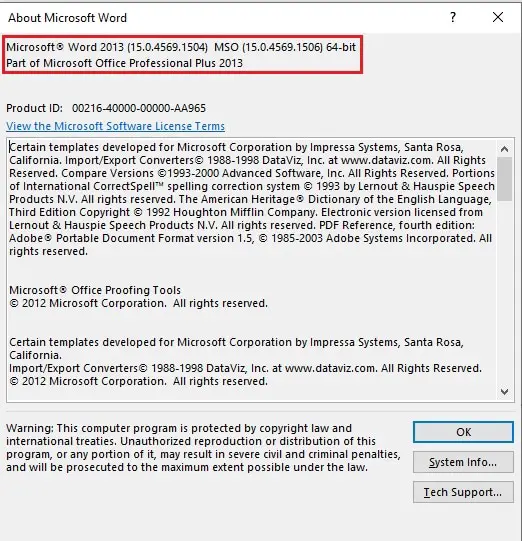
Note down this information as it will be required at the time of downloading.
Download and install Microsoft Office language packs
Microsoft has added the option to change the display languages in their applications. Download the guide provided to configure the language of your preference on your PC:
- Continue to Microsoft’s Language Accessory Pack download page.
- Scroll down and click on the Office version that you have on your PC. For Office Professional Plus 2016 and 2019, select Newer versions. Then click on the drop-down menu to select a language pack to download.
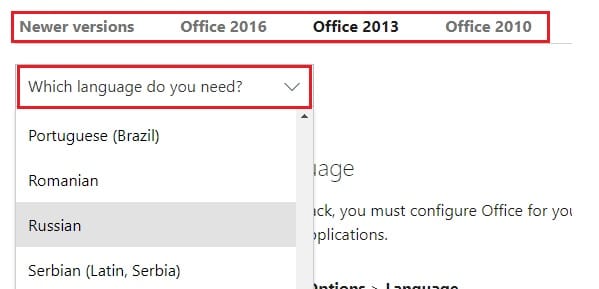
- Now click on the link provided under the Links column in the table to download the relevant version.

- Your download should now begin. When the download is finished, double-click the package to run it.

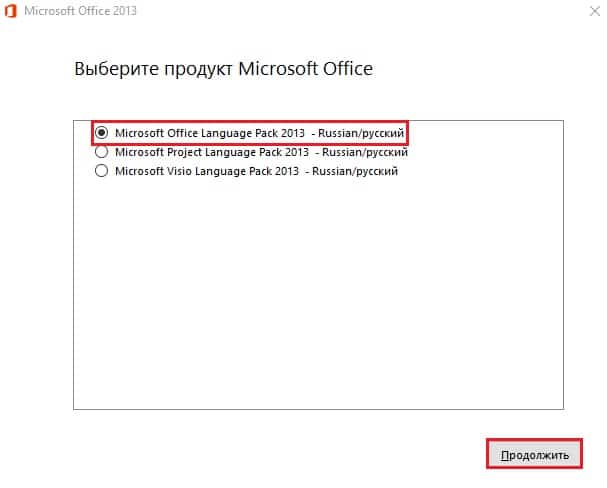
- On the first screen of the installation wizard, select the product you wish to install the Language Accessory Pack on and then click Continue.
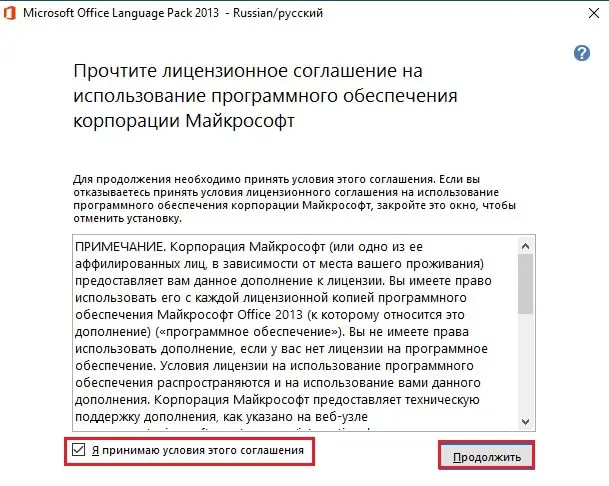
- On the next screen, agree to the terms and conditions and click Continue.
- On the final screen, click Install.
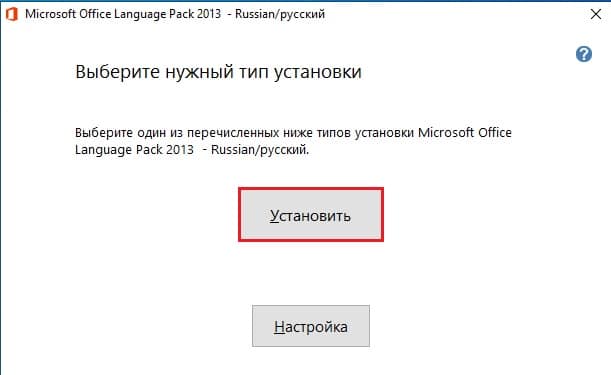
Close the wizard when it is complete.
How to change Microsoft Office display language
- This installation alone is not enough. It incorporates the language into your selected Office product, but it does not configure it to change the current display language. For that, open the Office application and navigate to the following:
File -> Options -> Language - Under Choose display and help languages, select the language you wish to set, click on Set as default, and then click Ok.

- Now close the Office application and relaunch it.
You may now notice that the changes you have made to the display language have now taken effect.
How to change Microsoft Office editing/writing language
You may also change your Microsoft Office products’ editing language, meaning you can write in many languages. Follow the guide below to change the editing language within the Office products:
- Navigate to the following from within the Office application:
File -> Options -> Language - Under the Choose editing languages, in the Keyboard layout column, click on Not enabled in front of the language you want to set as “editing language.”

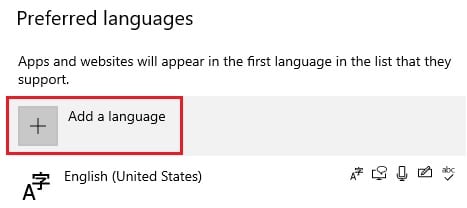
- The “Language” settings will now popup within the Settings app of Windows. Click on Add a language under Preferred languages.
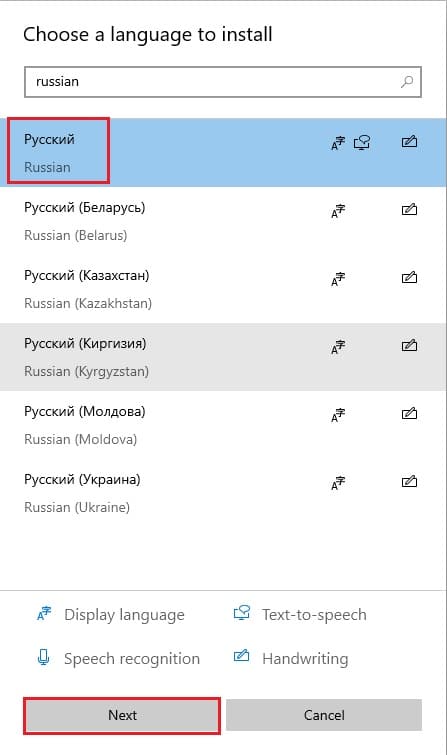
- On the next screen, select the language and then click Next.
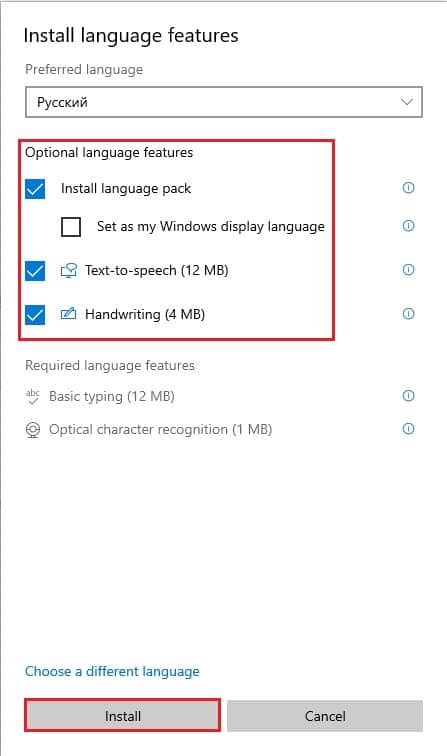
- Now check the box next to Install language pack and click Install. You may also check other boxes if required.
- Your new language pack will then begin to download. When the download is complete, you can now switch to the new language through the Taskbar language icon, or use the Windows Key + Spacebar shortcut keys.
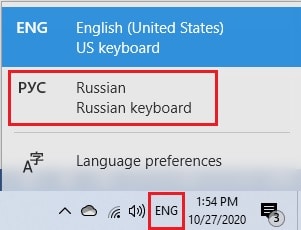
You should now be able to enter text in different languages in any Office product. You can also switch between them whenever you’d like.
Closing words
You can add a number of new languages to both the display and editing languages. These can work simultaneously, and you can easily switch between them. However, note that each switch in the display language will require a reboot of the application. Hence, it is recommended to save your work before doing so.
Moreover, the editing language preferences take effect throughout the system, and not just Microsoft Office products. Thus, you can use those language packs on other applications and switch between them just the same.
