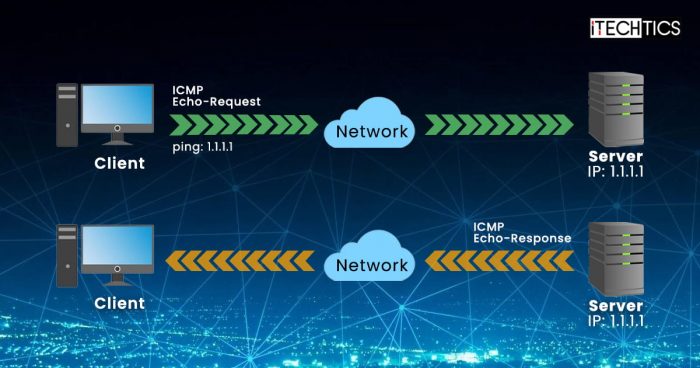
ICMP or Ping is disabled by default on Windows Server and Windows 11 / Windows 10. Keeping Ping disabled makes the system safer, but troubleshooting becomes more difficult.
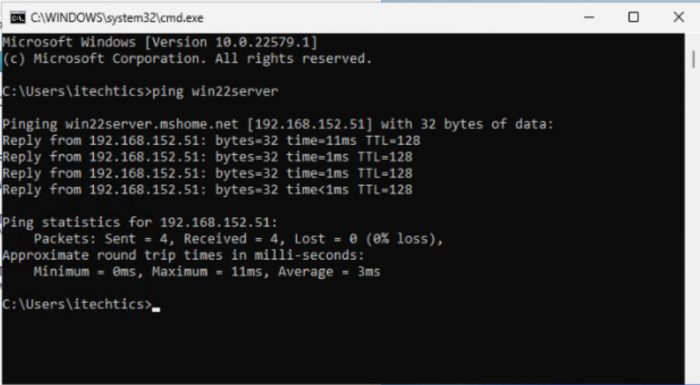
As ping indicates that the remote computer is connected to the network and capable of communicating, it is a useful command, especially for sysadmins.
As a sysadmin myself, I have to install Windows Server and client frequently. Since our network is secured by hardware firewalls, it’s safe to allow ping on Windows Server and Windows client computers.

I prefer to enable Ping manually and not use Group Policy. In this article, we will go through the step-by-step process of enabling Ping through Windows Firewall.
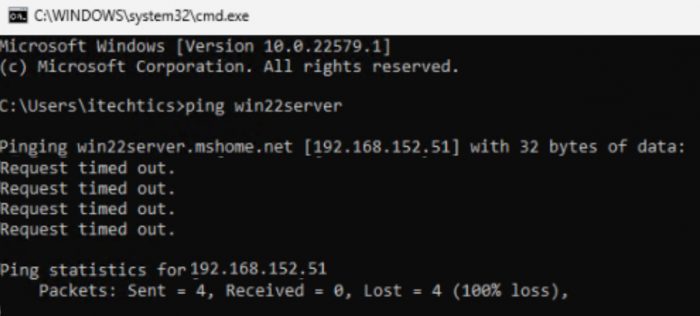
If ping is not enabled on your computer, you will get a request timed out message when you ping the computer.

Table of Contents
How to enable Ping in Windows Firewall
To enable ping on Firewall, follow the steps below:
Open Firewall by going to Run –> firewall.cpl
Click on Advanced Settings from the right-hand pane

Firewall advanced settings Right-click on Inbound Rules on the left-hand pane and select New Rule

New inbound rule in Firewall Select File and Printer Sharing under Predefined. Click on Next.
Select the following two rules:
- File and Printer Sharing (Echo Request – ICMPv6-In)
- File and Printer Sharing (Echo Request – ICMPv4-In)

Enable ICMP rules from Group Policy Click on Next.
Make sure “Allow the connection” is selected. Click on Finish.

Allow the connection rule for ping
How to enable Ping using Command Line
To enable Ping using Command Line, open Command Prompt or PowerShell and run the following commands:
Allow IPv4 ping using cmd:
netsh advfirewall firewall add rule name="ICMP Allow Ping V4" protocol="icmpv4:8,any" dir=in action=allowAllow IPv4 ping using PowerShell:
New-NetFirewallRule -DisplayName "ICMP Allow Ping V4" -Direction Inbound -Protocol ICMPv4 -IcmpType 8 -RemoteAddress <localsubnet> -Action AllowAllow IPv6 ping using cmd:
netsh advfirewall firewall add rule name="ICMP Allow Ping V6" protocol="icmpv6:8,any" dir=in action=allowAllow IPv6 ping using PowerShell:
New-NetFirewallRule -DisplayName "ICMP Allow Ping V6" -Direction Inbound -Protocol ICMPv4 -IcmpType 8 -RemoteAddress <localsubnet> -Action AllowTo disable Ping using Command Line, open Command Prompt or PowerShell and run the following commands:
Block IPv4 ping using cmd:
netsh advfirewall firewall add rule name="ICMP Allow Ping V4" protocol=icmpv4:8,any dir=in action=blockBlock IPv4 ping using PowerShell:
New-NetFirewallRule -DisplayName "ICMP Allow Ping V6" -Direction Inbound -Protocol ICMPv4 -IcmpType 8 -RemoteAddress <localsubnet> -Action BlockBlock IPv6 ping using cmd:
netsh advfirewall firewall add rule name="ICMP Allow Ping V6" protocol="icmpv6:8,any" dir=in action=blockBlock IPv6 ping using PowerShell:
New-NetFirewallRule -DisplayName "ICMP Allow Ping V6" -Direction Inbound -Protocol ICMPv4 -IcmpType 8 -RemoteAddress <localsubnet> -Action BlockHow to enable Ping through Firewall using Group Policy
Sometimes it becomes cumbersome to go through each computer in the network and enable ping. A rather easier way would be to disable Windows Firewall by default. This could be a security rick. Alternatively, we can enable ping for all computers (or a set of computers) in the network using the Group Policy.
Here’s how to enable ping using Group Policy:
Open the Group Policy Management Console on your Domain Controller from Server Manager –> Tools –> Group Policy Management.
You can either create a new Group Policy Object and apply it to relevant computers or edit the already existing universal GPO.

Edit Default Domain Policy Navigate to the following:
Computer Configuration -> Policies -> Windows Settings -> Security Settings -> Windows Defender Firewall with Advanced Security -> Windows Defender Firewall with Advanced Security -> Inbound Rules
Right-click Inbound Rules and create a New Rule.

New inbound rule Select File and Printer Sharing under Predefined. Click on Next.
Select the following two rules:
- File and Printer Sharing (Echo Request – ICMPv6-In)
- File and Printer Sharing (Echo Request – ICMPv4-In)

Enable ICMP rules from Group Policy Click on Next.
Make sure “Allow the connection” is selected. Click on Finish.

Allow the connection rule for ping
That’s it. Now ping is enabled across the internal network. If any computer still does not allow ping traffic, please run the following command on that computer:
gpupdate /force


