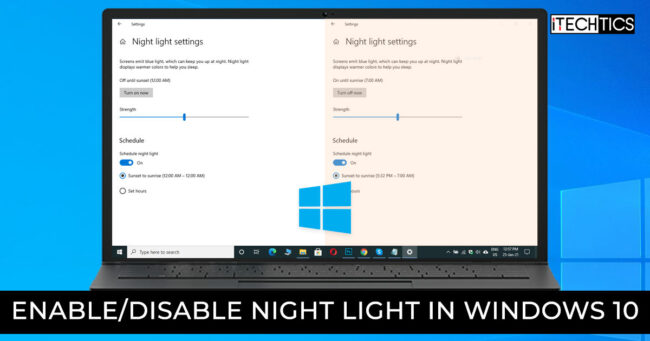
Night Light is a feature in Windows 10 that allows users to block blue light emitted through the laptop LED, which is damaging for your eyes. Since many displays do not have this feature, Microsoft has given this built-in feature with Windows 10.
This article gives you 2 different ways through which you can enable and disable the blue light filter (night light) on your Windows 10 PC.

Table of Contents
Why use Night Light
As mentioned, Night Light, when enabled, filters out the blue light and displays warmer colors. This does not affect the cornea in your eyes and helps you sleep at night when you are finished with your work. For this, Windows also has an option where you may schedule automatic enabling and disabling of night light according to your needs.
Blocking blue light also reduces glare, which in turn decreases the risk of macular degeneration. Macular degeneration is a long-term effect of blue light that directly affects the central part of the retina, resulting in blurriness and distortion of vision.
Therefore, it is recommended that people spending more time on digital screens, especially in the dark, use this feature and save their vision.
How to enable/disable Night Light in Windows 10
There are several ways through which you can enable and disable night light on your computer running Windows 10. Let us tell you what those are and how you can manage them.
Enable/disable Night Light from Action Center
The Action Center is the little portion at the bottom of the Notification Tray which appears from clicking on a small icon on the extreme-right on the Taskbar. From here, you can enable and disable the night light simply with a click.
- Click on the box in the bottom-right corner of the screen. Alternatively, you can use the Windows Key + A shortcut keys.

- You should now be able to see the Night Light tile in the Action Center. Click on it to toggle on night light mode.

If you do not see the Night Light tile, click on Expand to bring up more options. It should then be visible.
You can click the same tile again to switch the night light mode off again. We would like to inform you that if toggling the tile does nothing, it is probably because a schedule has been set for the Night Light mode, which is enabled by default. Hence, the mode will only be enabled when the time corresponds with the settings.
The next method also discusses how you can manage your night light schedule as well.
Enable/disable Night Light using the Settings app
Night light mode can also be enabled and disabled from the Settings app in Windows 10. Moreover, it also gives the option to set a schedule for night light mode when you are using your PC. You can also set the temperature of the screen once the night light mode is enabled.
- Navigate to the following:
Start Menu -> Settings -> System -> Display - Or simply click here to open Night Light Settings.
- Now click on the slider to enable night light under Brightness and color.

- Note that enabling it might not take effect just yet. You will need to disable the automatic scheduling and then enable the mode. To do that, click on the Night Light settings beneath the slider.

- In the Night Light settings window, you can set a time to enable and disable the night light mode automatically. If you want to enable it right now, you will need to switch off the scheduling by clicking on the associated slider, and then click Turn on now.

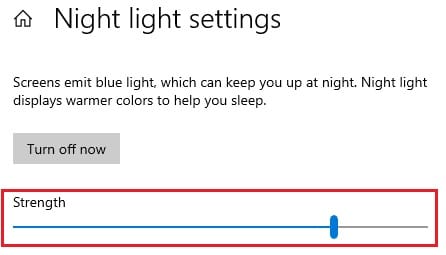
You can turn off the night light by toggling the slider under Brightness and color, or through the Action Center as well, as explained in the previous step. You can also adjust the temperature of the display once the blue light filter is on by dragging the slider under Strength. Bring it to the left will lower the temperature while making it higher towards the right.

Closing words
There are rumors that the night light can be enabled, disabled, and managed through the Registry Editor in Windows 10. However, upon testing those methods, it seemed that those were not the right methods.
One of the methods involved removing 2 registry values. However, simply re-enabling the night light through the Settings app re-instated the same registries automatically, hence enabling night light.
Therefore, only 2 available and most convenient methods to enable and disable night light have been discussed in this article.


